[Visual Studio] C 언어/ C++ 외부 라이브러리 추가하는 방법 정리(헤더파일, lib, dll)
시작하기 전
Visual stuido에서 라이브러리 추가 할 때 마다 구글링 해서 따라해보면 사람마다 말이 다르고 안될 때가 많다.
그래서 직접 lib, dll, 외부 헤더파일까지 다 추가해보고 정성스럽게 정리한 글이다.
sqlite3.h, sqlite3.lib, sqlite3.dll 추가를 예제로 한다.
다 테스트 해보면서 작성 한 거니 자세히 읽어보면 당신의 라이브러리가 추가 안되는 이유를 알 수 있을것이다.
따라서 순서대로 따라만 한다면 제대로 추가 가능할 거다.
목차
1. 헤더파일 추가 방법
2. lib 추가 방법
3. dll 추가 방법
- 헤더파일, lib, dll 의 폴더 위치에 대한 정리
라이브러리 추가 할때 가장 헷갈려하는 부분이다.어차피 아래에서 자세히 알려줄거니 이건 넘겨도 된다.
1. 헤더 파일, lib 는 솔루션 폴더가 아닌 다른 폴더에 있어도 visual studio가 읽어 올 수 있다.
2. dll은 두 가지 추가 방법이 있다.
1) 경로 설정 해주기
이 방법은 dll이 솔루션 폴더 안에 없으면 visual sutdio가 읽어오지 못해 오류가 발생한다.
dll을 못 읽어오는 이유는 대부분 dll 파일을 잘못된 폴더에 넣었기 때문이다.
2) 경로 설정 + 환경변수 추가 해주기
환경변수를 추가 해 줌으로써 dll이 솔루션 폴더 안에 없더라도 visual studio가 읽어올 수 있다.
이 방법을 많이 쓴다.
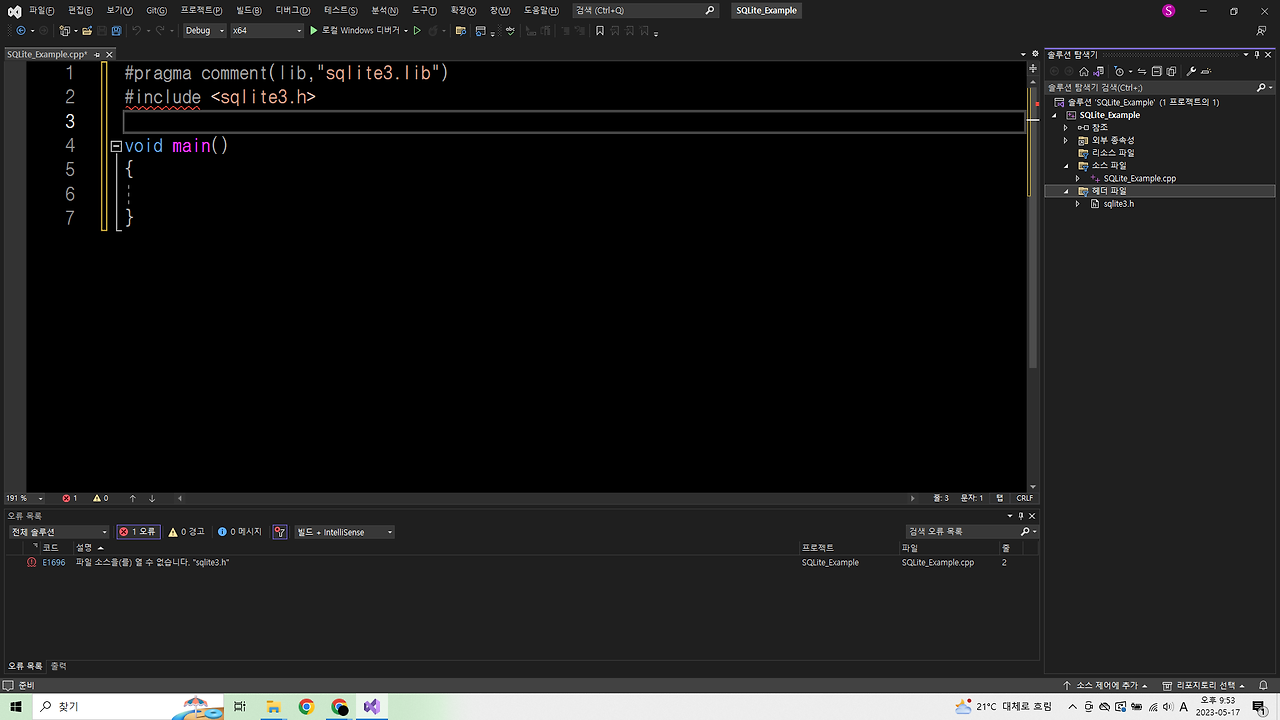
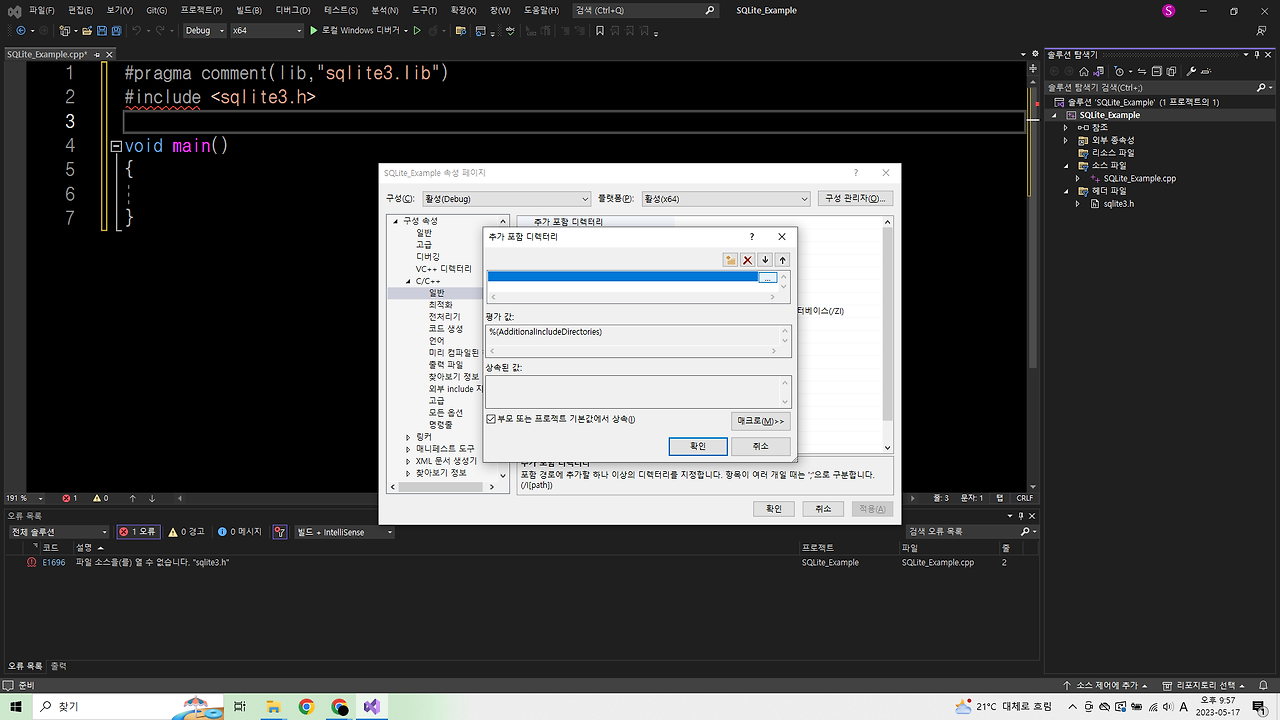
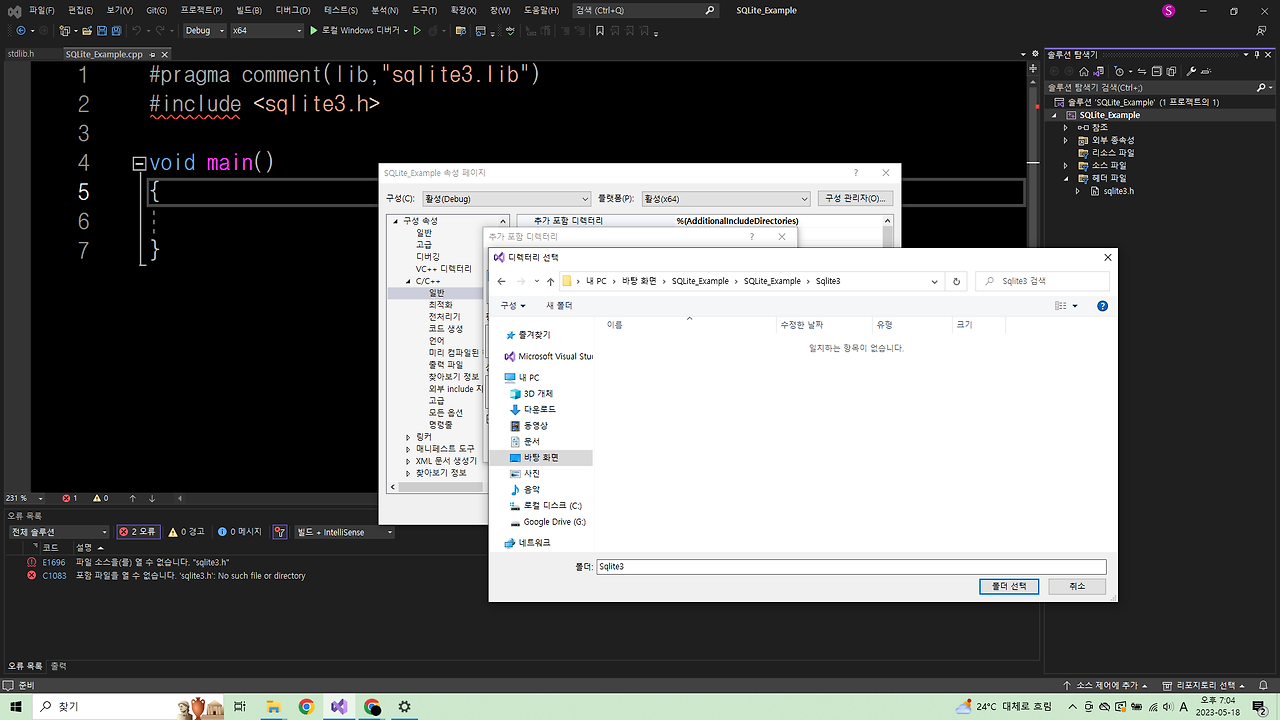
1. 헤더파일 추가 방법
프로그래밍하며 직접 만드는 헤더파일이 아닌 외부에서 헤더파일을 가져다 사용 할때는 추가를 해줘야 한다.
헤더파일은 아무 폴더에나 있어도 visual studio가 읽어 올 수 있다.
솔루션 탐색기 -> 헤더 파일 우클릭 -> 추가 -> 기존 항목


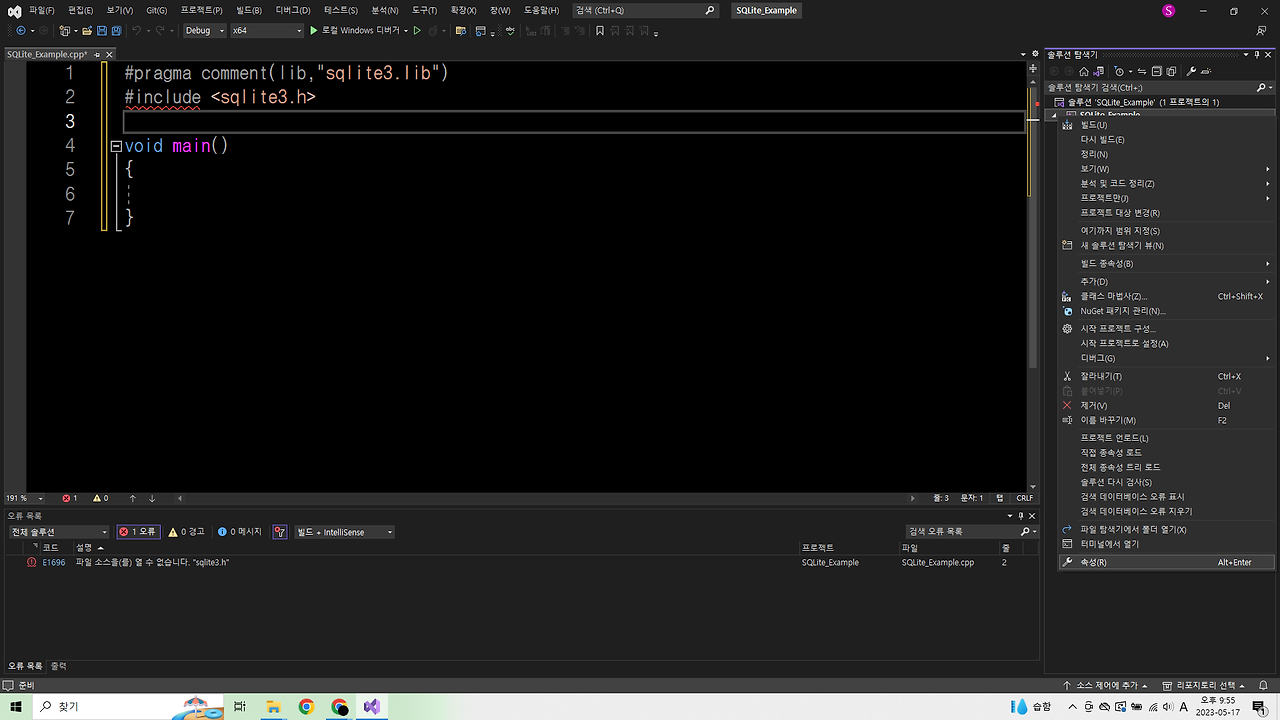
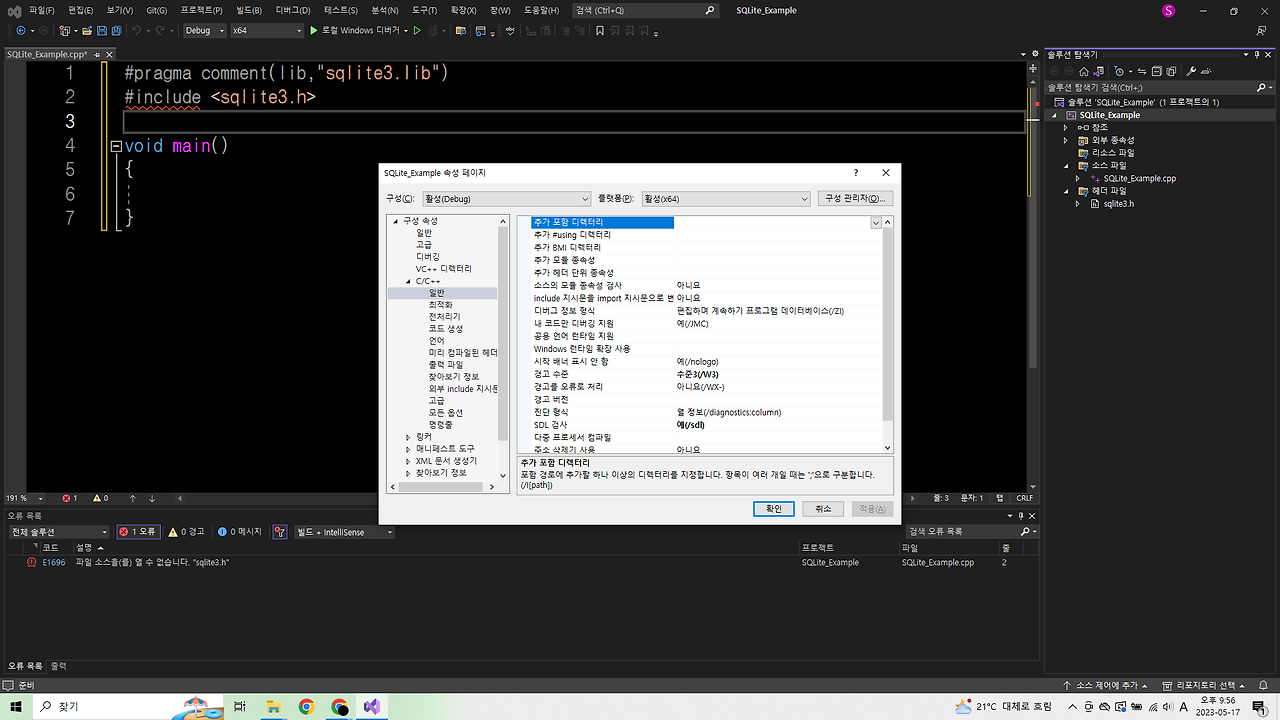
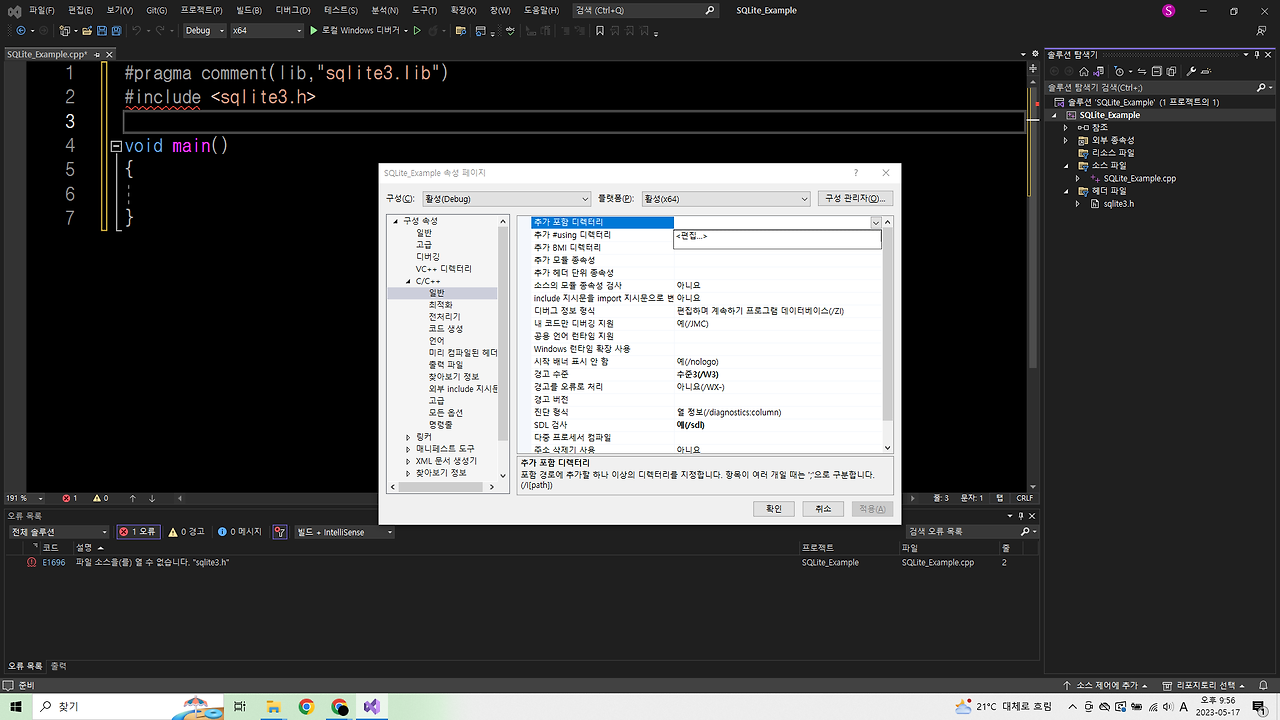
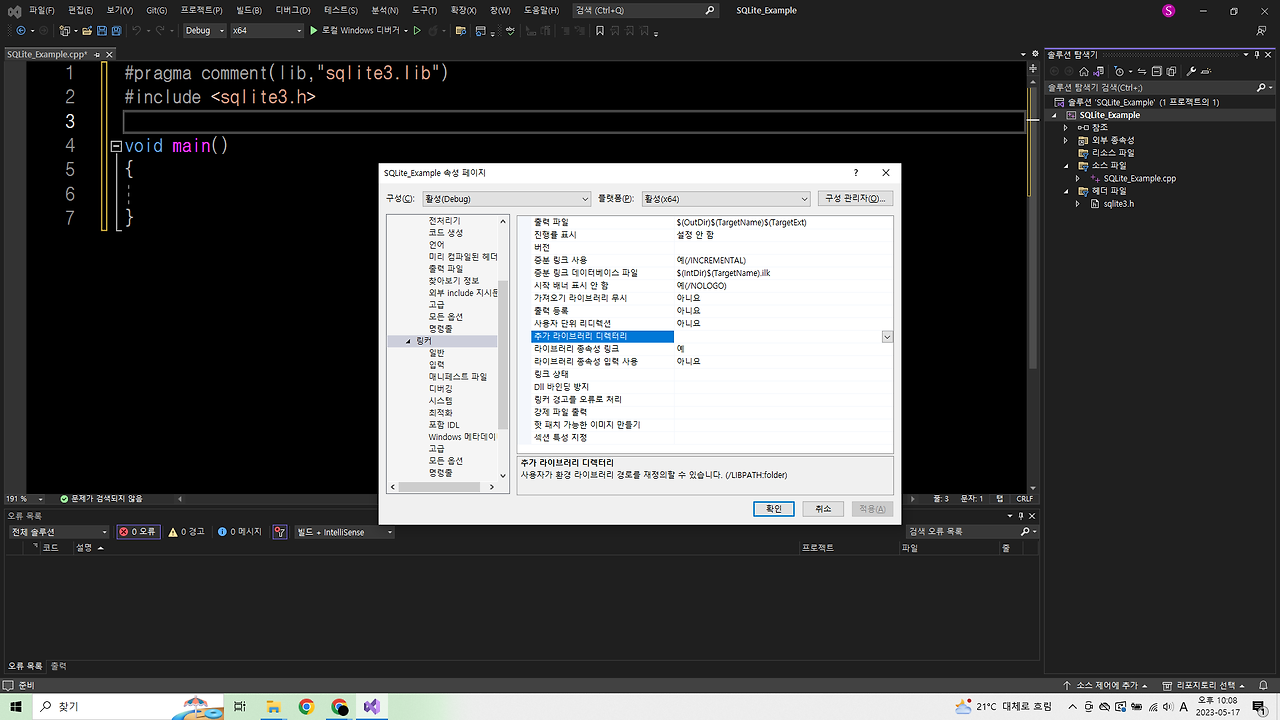
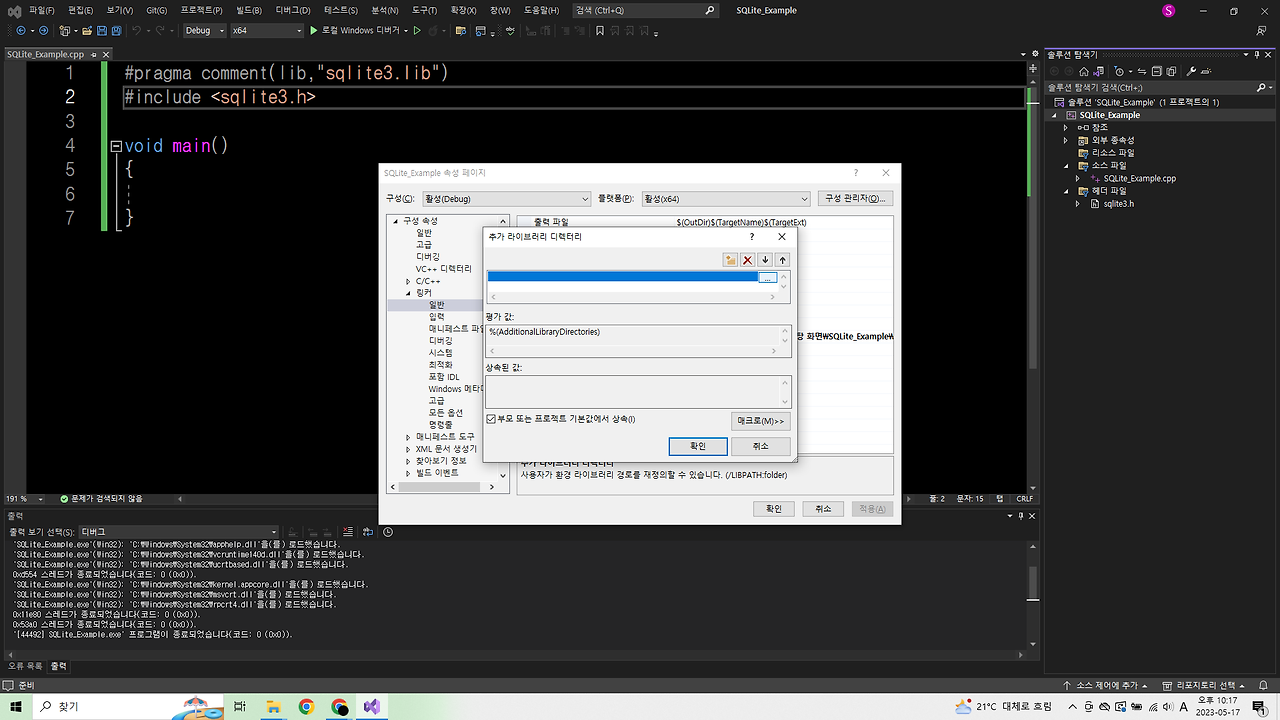
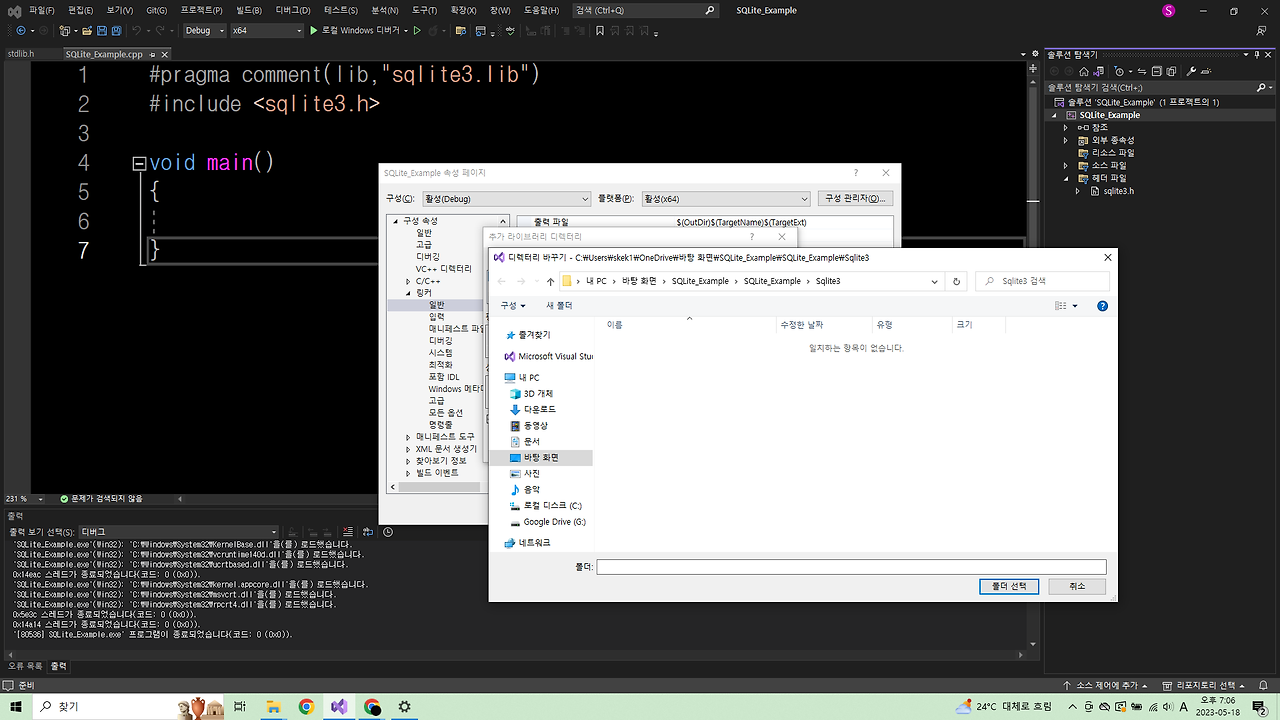
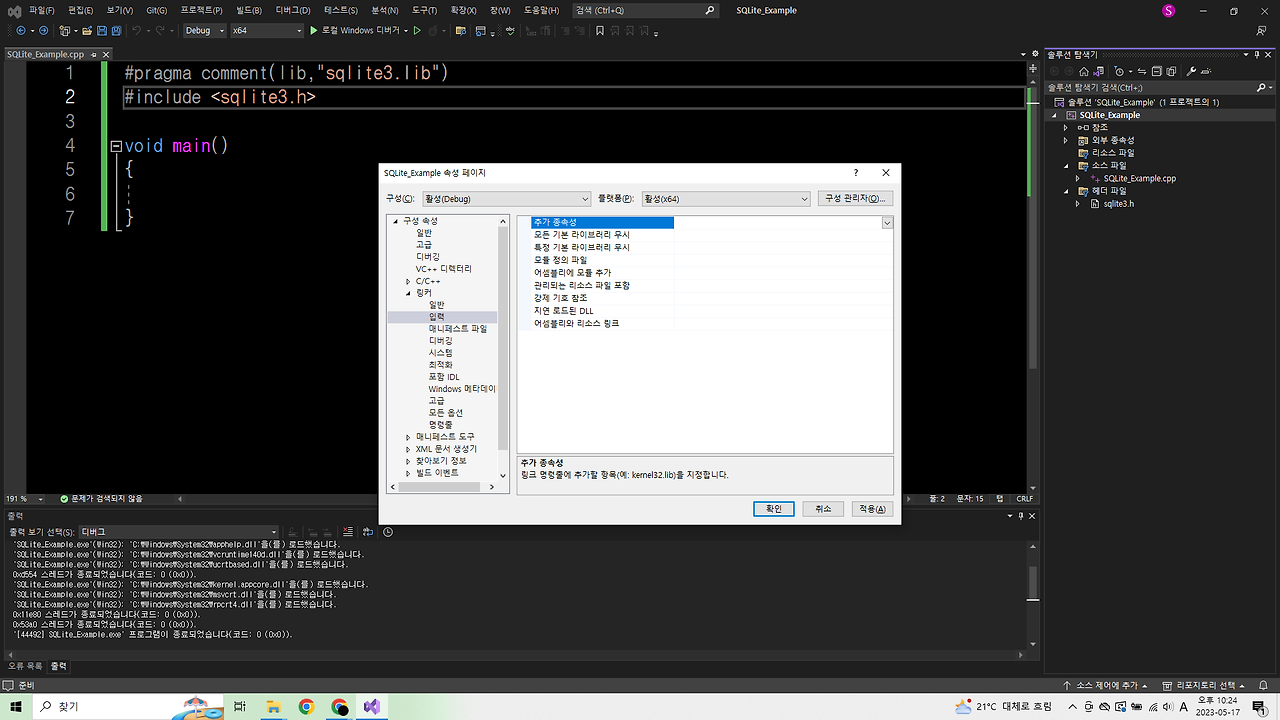
2. lib 추가 방법

3. dll 추가 방법
dll파일 추가법은 두 가지가 있다.
1) 경로만 설정 해주기
이 방법은 dll이 솔루션 폴더 안에 없으면 visual sutdio가 읽어오지 못해 오류가 발생한다.
dll을 못 읽어오는 이유는 대부분 dll 파일을 잘못된 폴더에 넣었기 때문이다.
2) 경로 설정 + 환경변수 추가 해주기
환경변수를 추가 해 줌으로써 dll이 솔루션 폴더 안에 없더라도 visual studio가 읽어올 수 있다.
이 방법을 많이 쓴다.
1) 경로만 설정 해주기
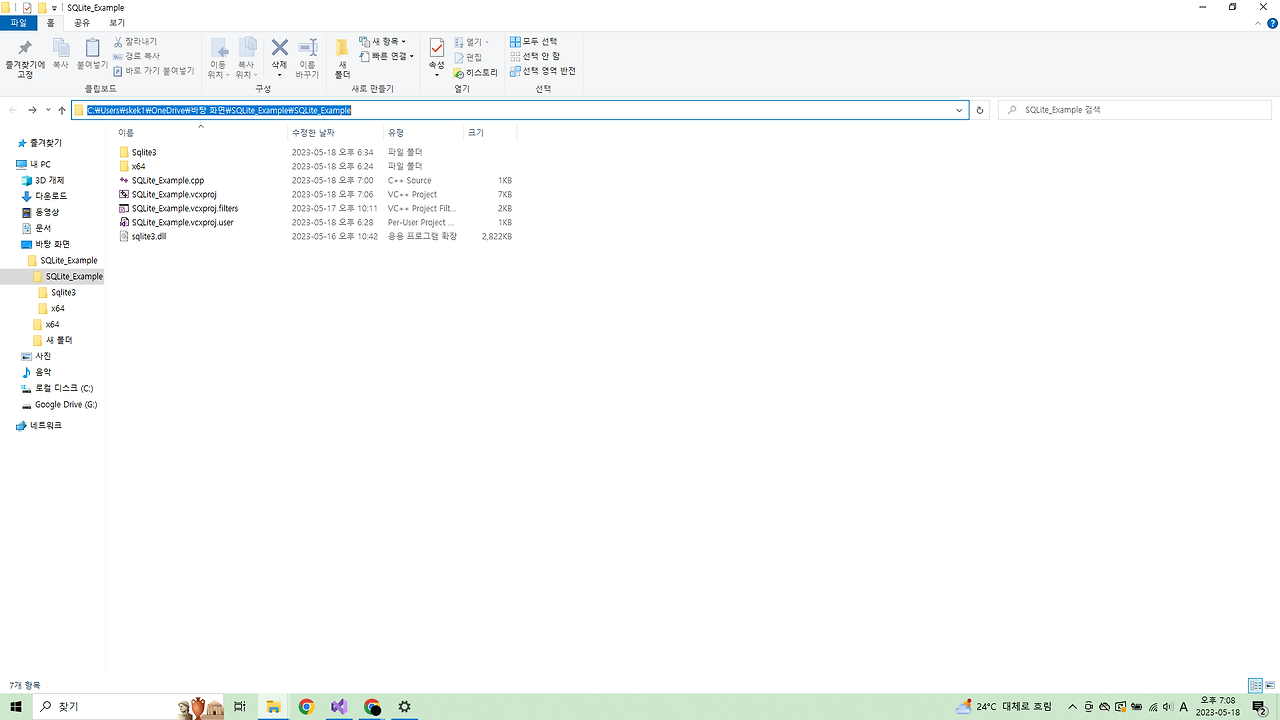
우선 dll 파일을 솔루션 폴더로 이동 시키자.
아래 사진은 프로젝트를 만들면 생성되는 초기 폴더다.
여기서 솔루션(.sln)이랑 이름이 같은 폴더에 들어간다.(화면 제일 상단 폴더)
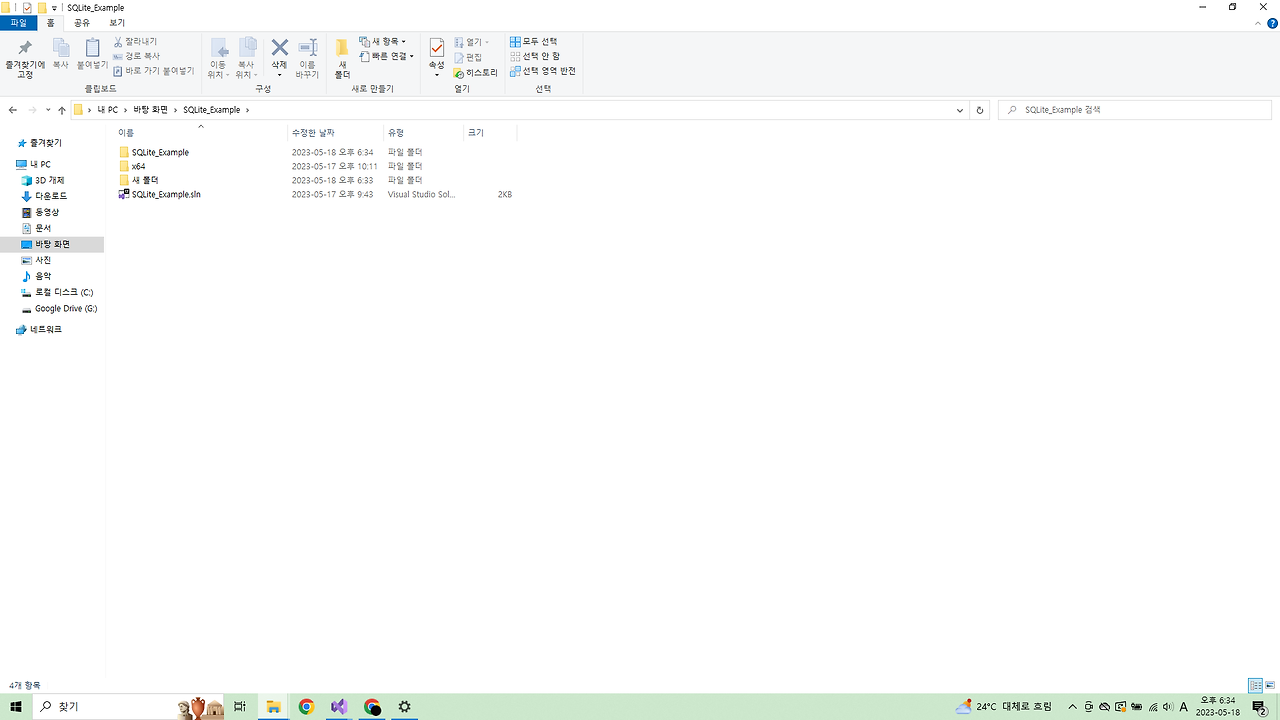
SQLite_Example 폴더에 들어왔으면 dll 파일을(sqlite3.dll) 넣어 준다.
이게 dll 파일의 올바른 위치다.

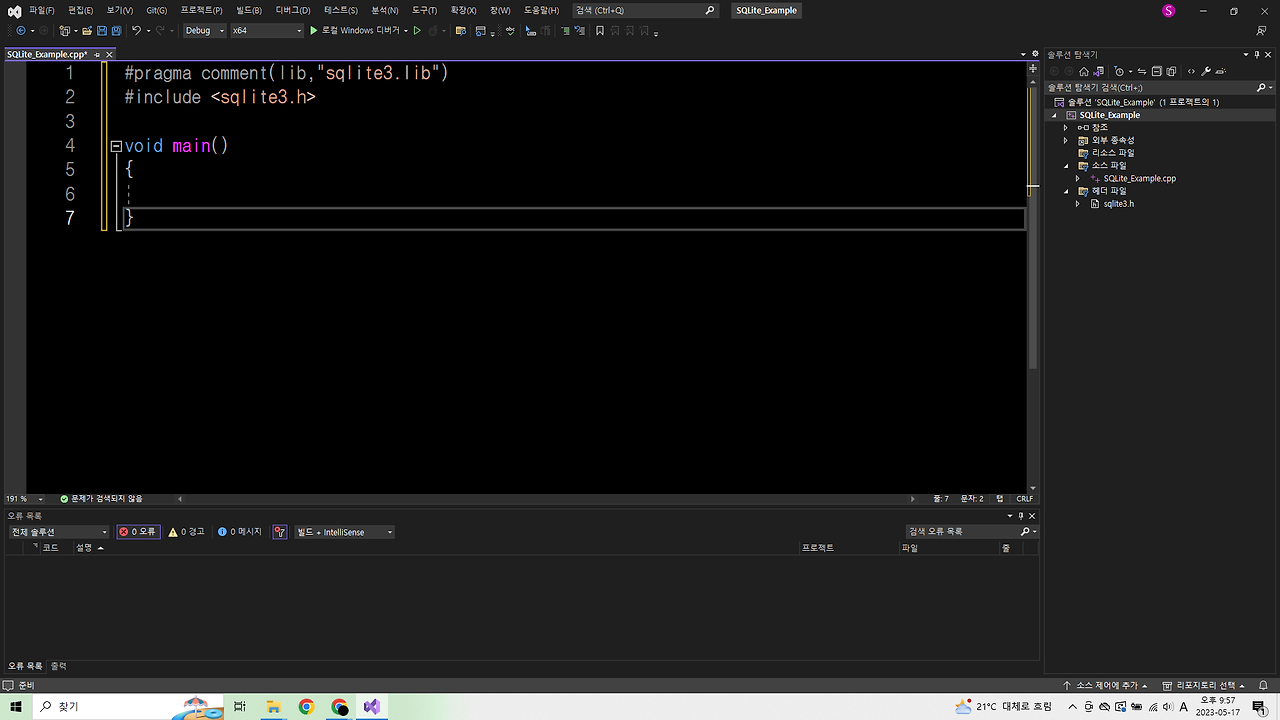
visual studio로 돌아와서
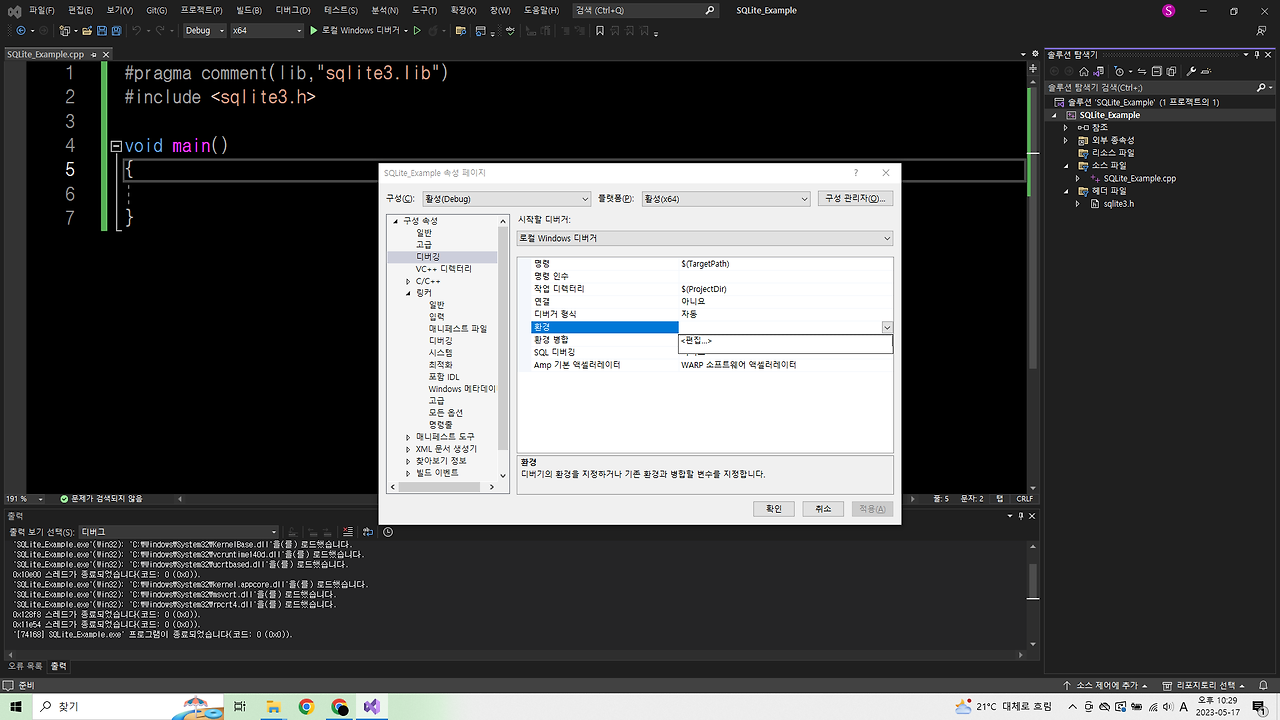
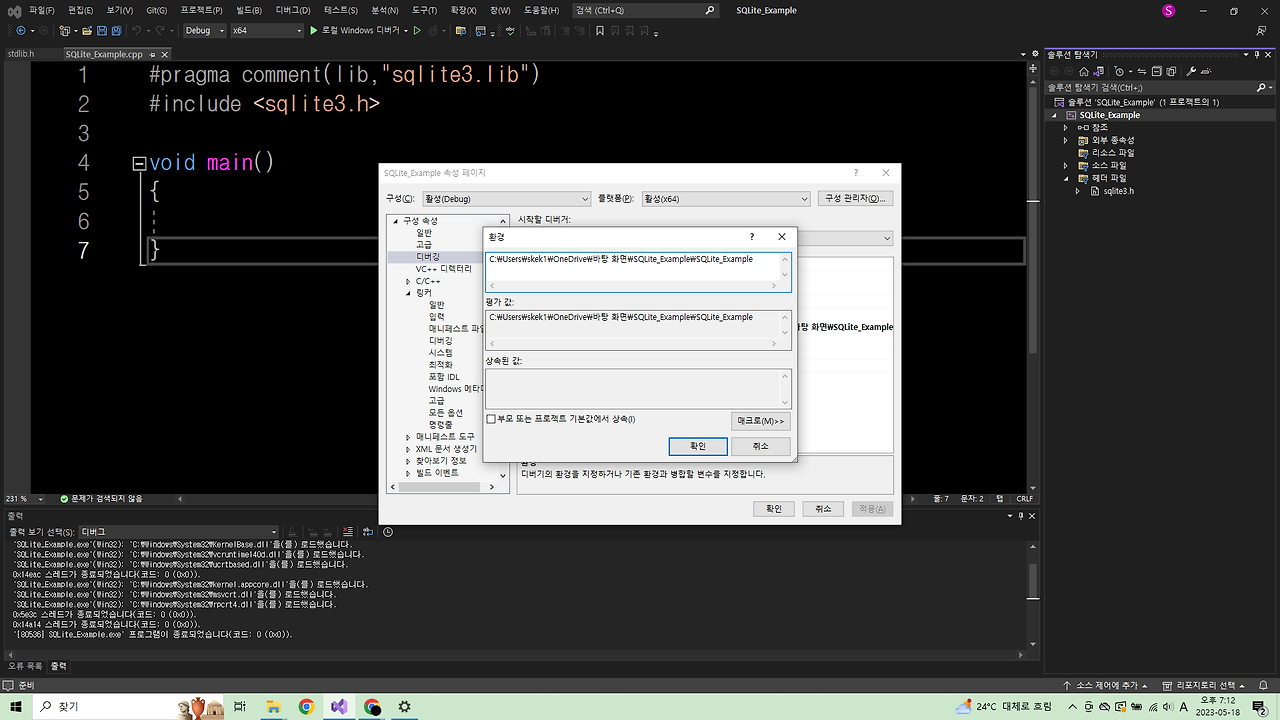
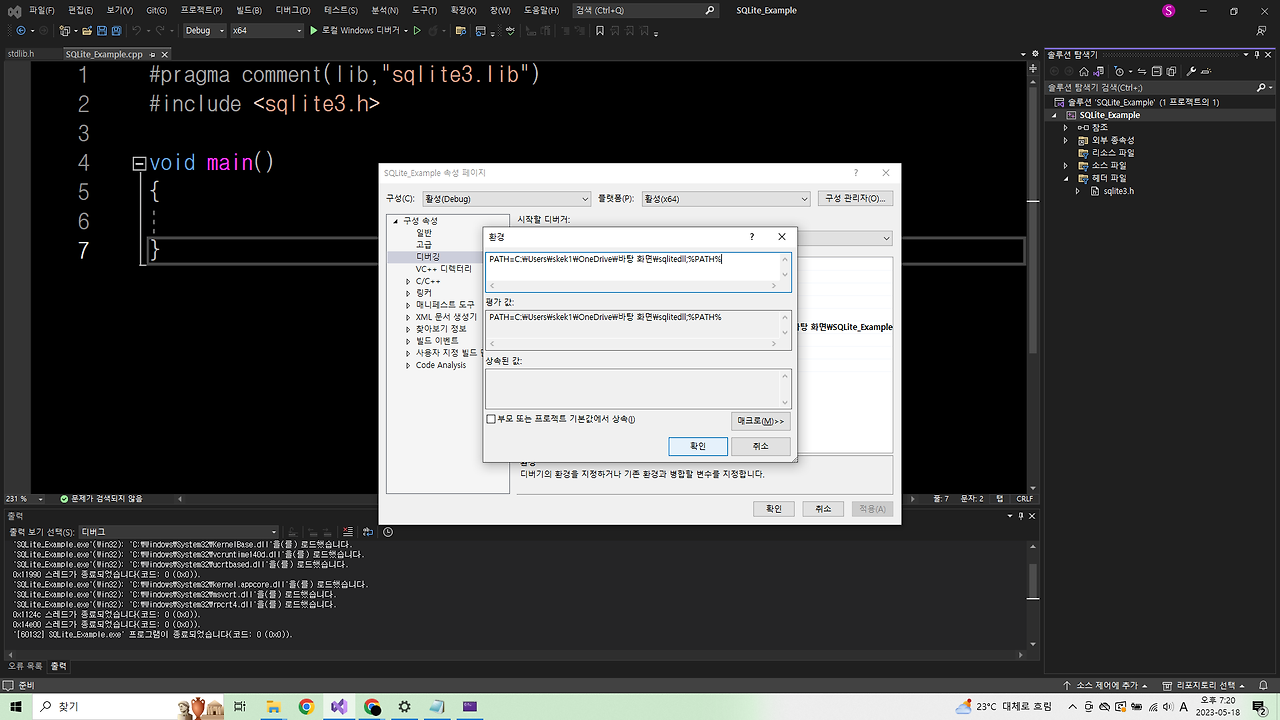
2) 경로 설정 + 환경변수 추가 해주기
이번엔 dll을 아무 폴더에 넣고 추가하는 방법을 해보자.
가장 많이 사용하는 방법이다.
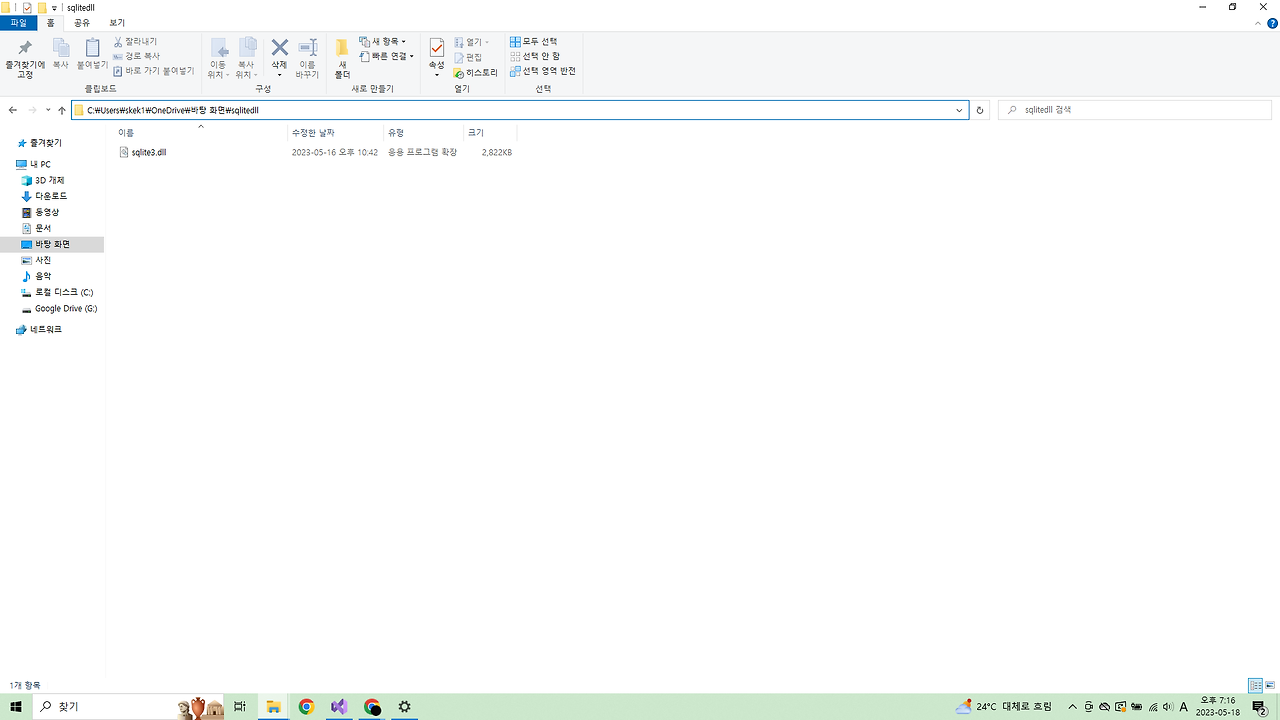
이번엔 dll 파일을 솔루션 폴더가 아닌 아무폴더에 둬보자.
나는 C:\Users\skek1\OneDrive\바탕 화면\sqlitedll에 sqlite3.dll을 넣었다.
헤더파일, dll, lib 추가 방법에 대해 알아봤다.
가장 스트레스 받지 않는 방법은 프로젝트 폴더 -> 솔루션 폴더에 헤더파일, dll, lib 파일을 다 박아두는 것이 좋은거 같다.